Portfellow’s permissions system allows you to securely share access to your portfolios and accounts with family members, financial advisors, partners, or any trusted individuals. You can control exactly what level of access they have and easily manage all shared permissions in one place.
Overview
The permission system enables you to:
- Share individual portfolios – Grant access to specific portfolios with customizable roles
- Share your entire account – Provide comprehensive access to all current and future portfolios
- Control access levels – Assign appropriate roles based on what each person should be able to do
- Monitor shared access – View who has access to your data and manage their permissions
The system offers two main sharing options:
- Portfolio-level sharing – Share access to specific portfolios with Viewer or Manager roles
- Account-level sharing – Share access to your entire account with Representative role (includes all current and future portfolios)
Each permission is sent via secure email invitation with a 7-day expiration for security.
Access Levels and Roles
Portfellow offers three distinct permission levels:
1. Viewer (Portfolio Sharing Only)
- Can view: Portfolio performance, holdings, transactions, and reports
- Cannot: Make any changes, add transactions, or modify settings
- Perfect for: Family members who want to stay informed, or advisors who only need to monitor your investments
2. Manager (Portfolio Sharing Only)
- Can view: All portfolio data and reports
- Can edit: Add/edit transactions, update portfolio settings, manage investments
- Cannot: Delete the portfolio, change core settings, or manage other users’ access
- Perfect for: Financial advisors who actively manage your investments or trusted partners who help maintain your records
3. Representative (Account Sharing Only)
- Can access: Your entire account including all current and future portfolios
- Can manage: All portfolio data, settings, and even create new portfolios
- Special privileges: Act on your behalf with comprehensive account access
- Perfect for: Spouse, business partner, or primary financial advisor who needs complete access
⚠️ Important: Account-level sharing automatically grants Representative access to your entire account, including all current and future portfolios. Only share with highly trusted individuals.
How to Share Access
To grant someone access to your Portfellow data:
Step 1: Navigate to Access Management
- Click on your account settings menu at the top of the screen
- Select Account Settings
- Choose the Access Management tab
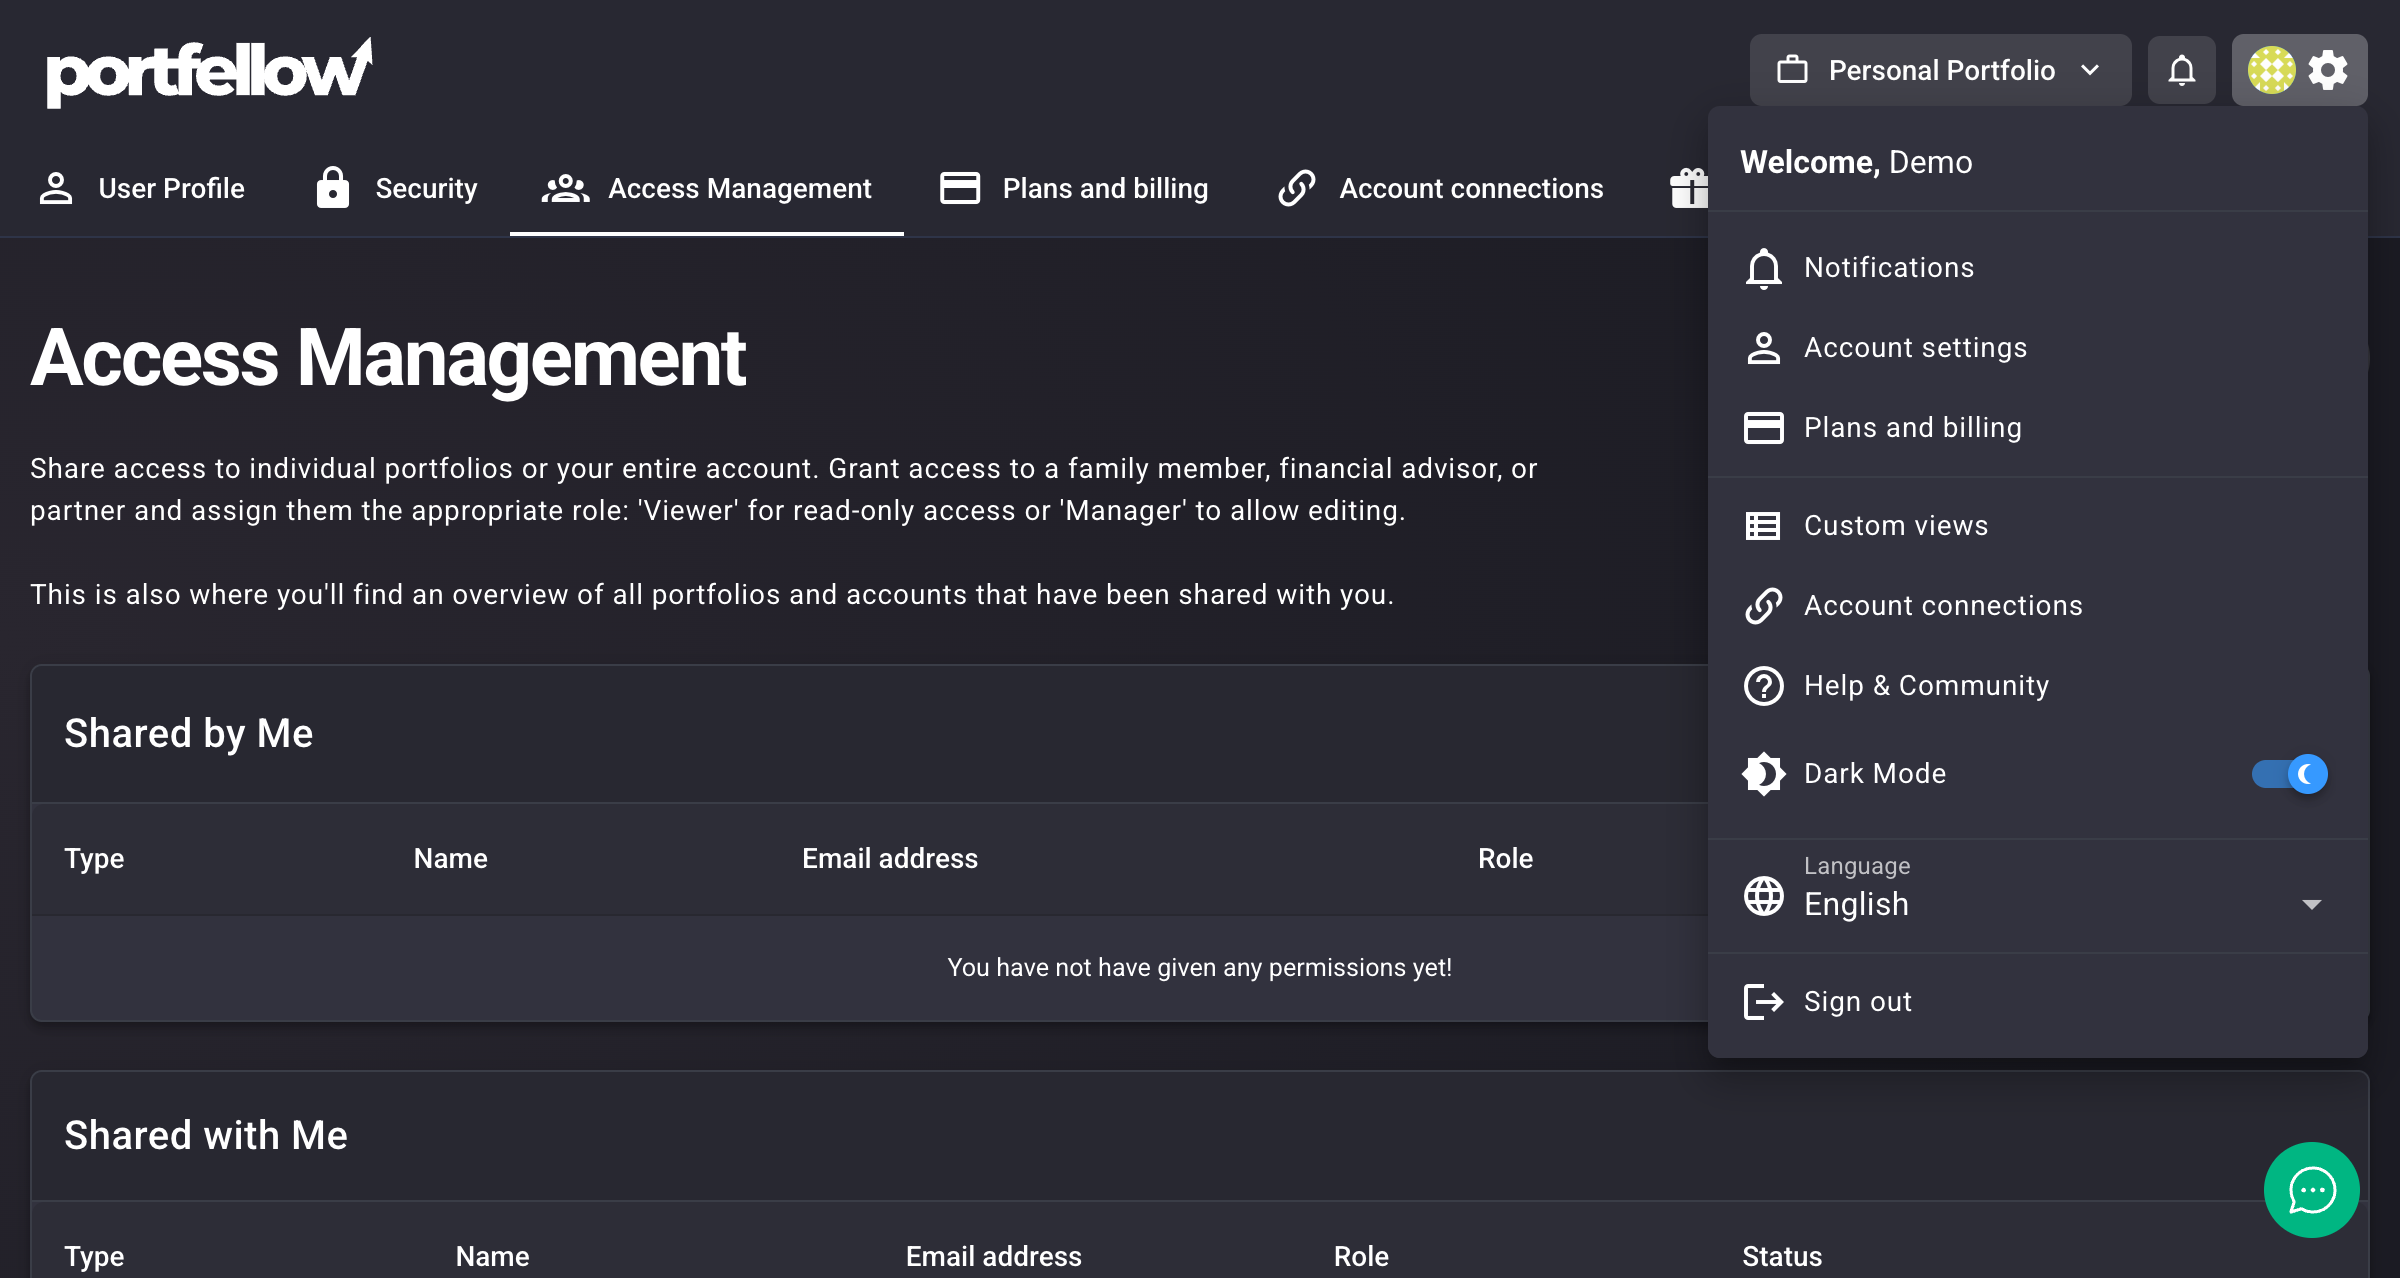
Navigate to Account Settings from the user menu
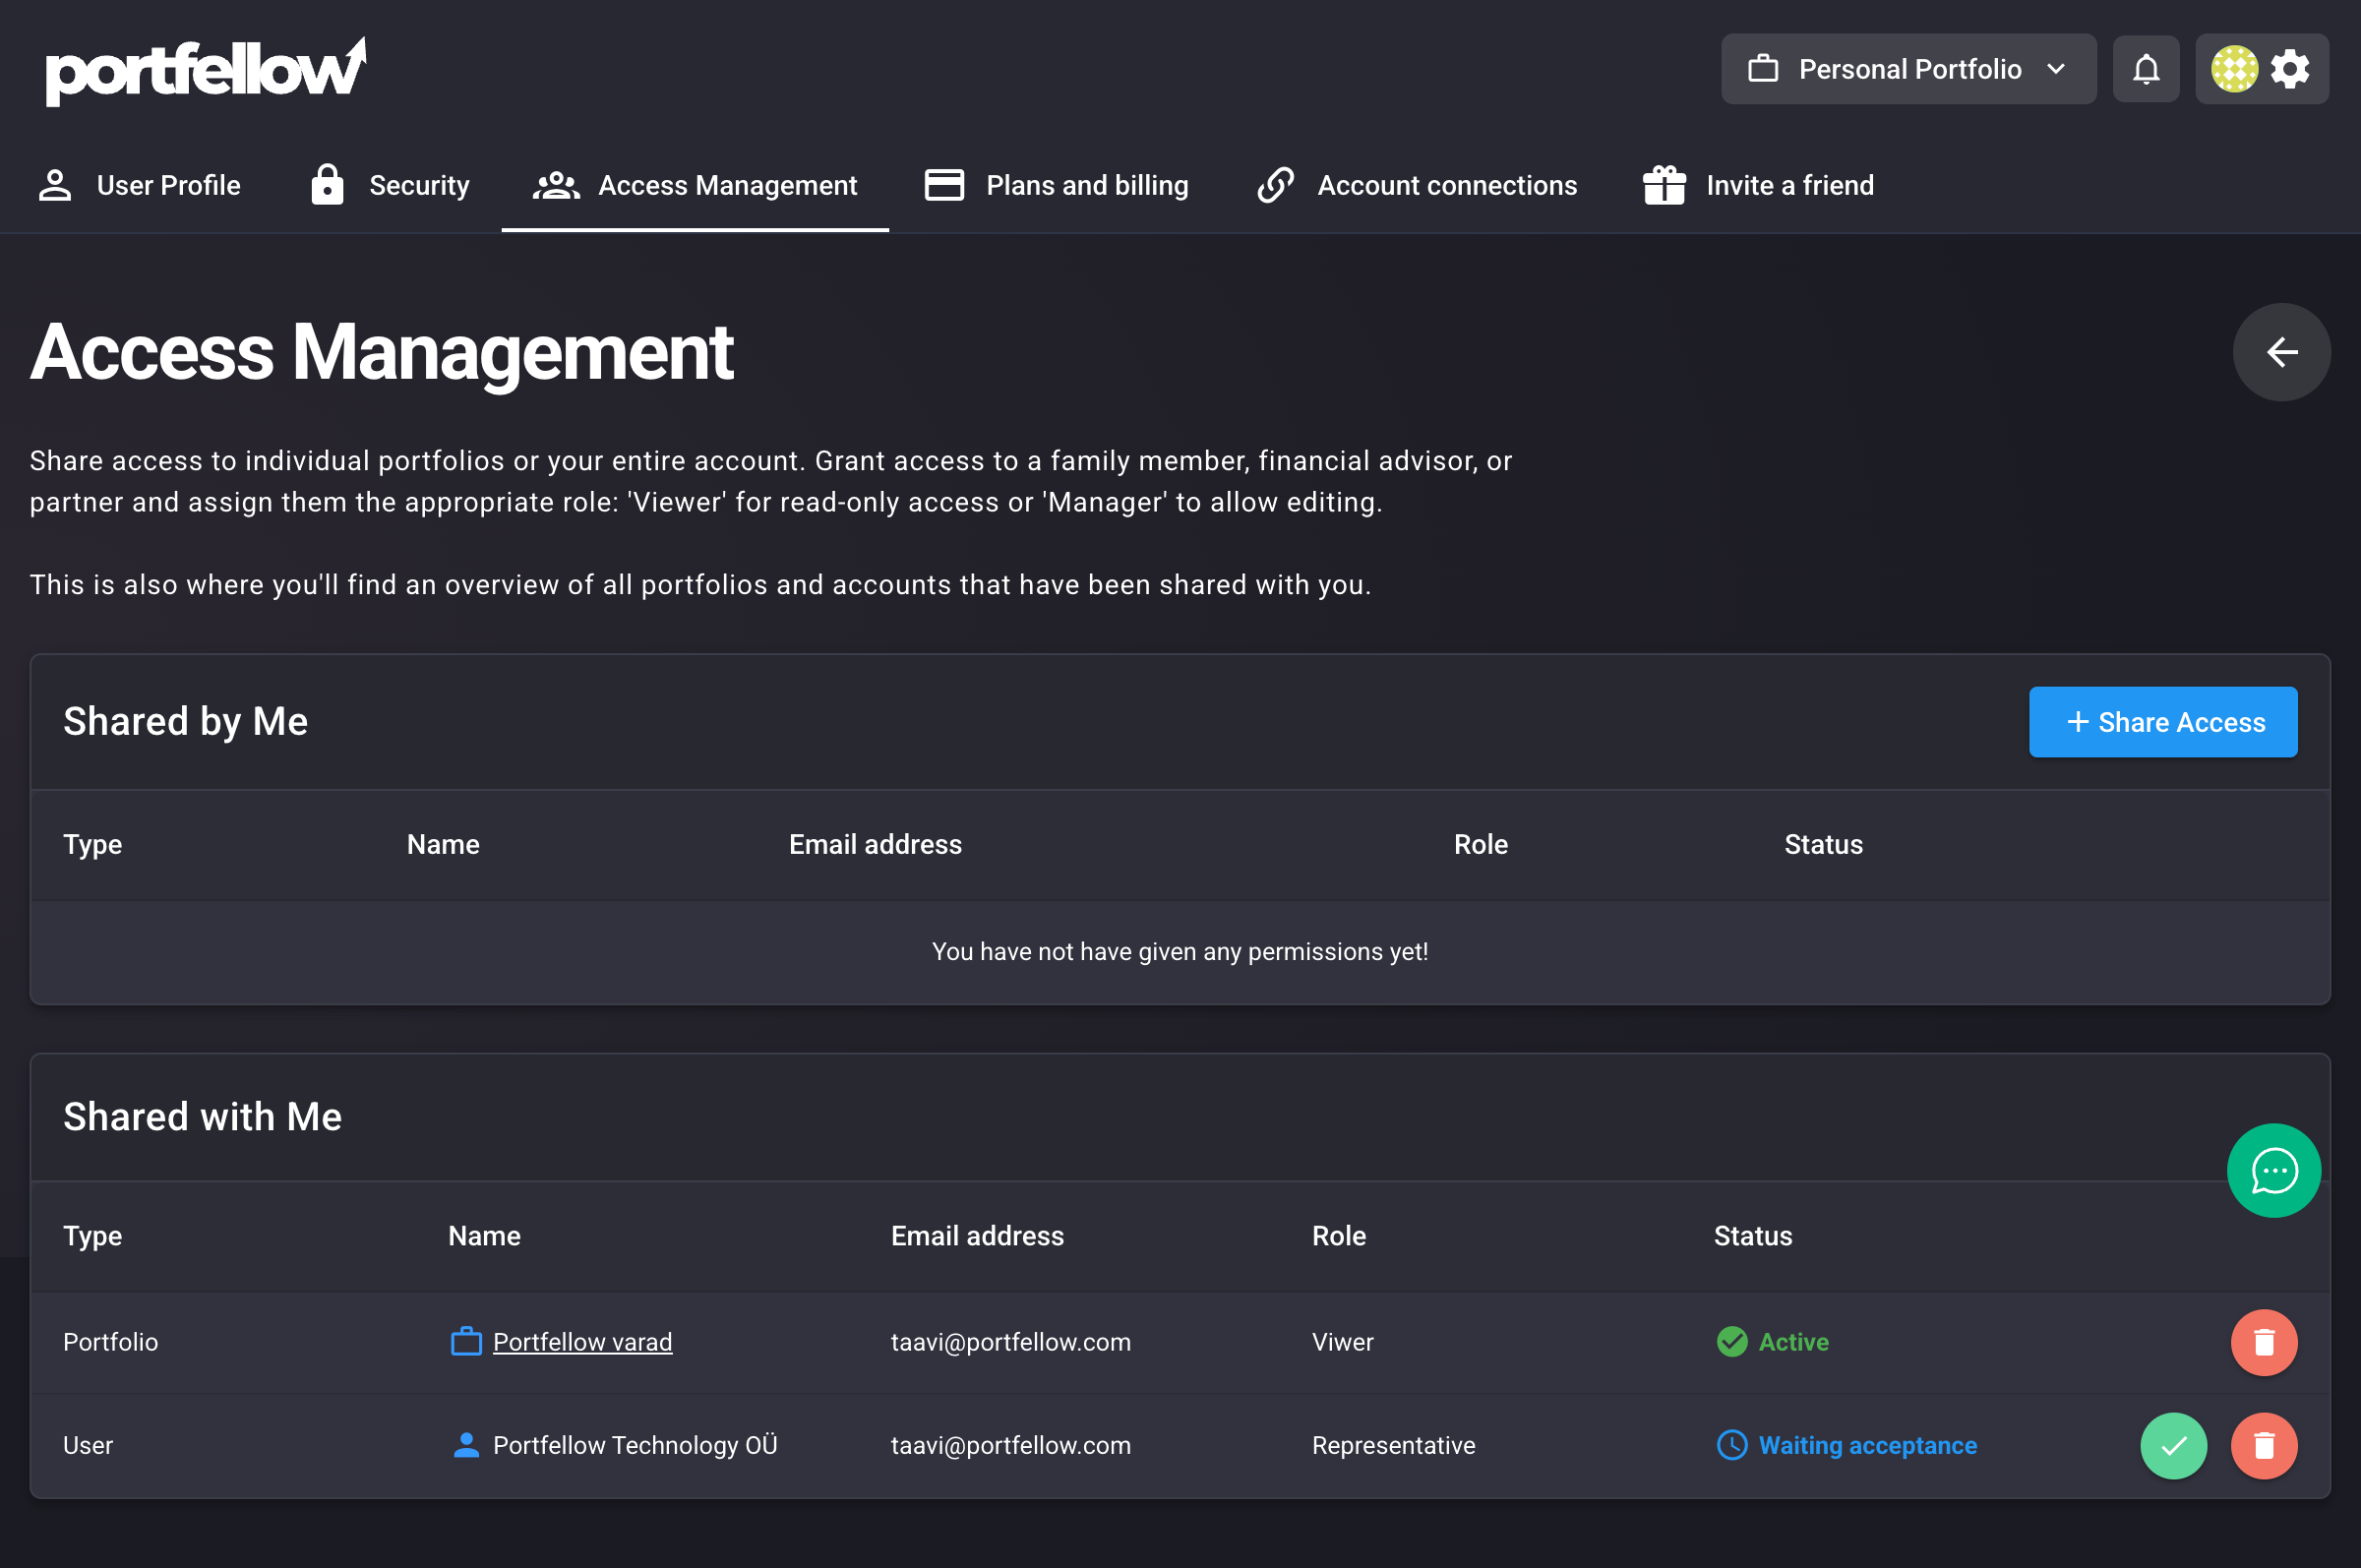
Main Access Management page showing both “Shared by Me” and “Shared with Me” sections
Step 2: Start Sharing Process
- Click the “Share Access” button
- You’ll see a dialog with two tabs: “Portfolio” ja “Account”
Step 3: Choose Your Sharing Type
For Portfolio Sharing:
- Select the “Portfolio” tab
- Choose the specific portfolio you want to share from the dropdown
- Enter the recipient’s email address
- Select their role: Viewer (read-only) or Manager (can edit)
- Vajuta “Saada päring” “Send invite”
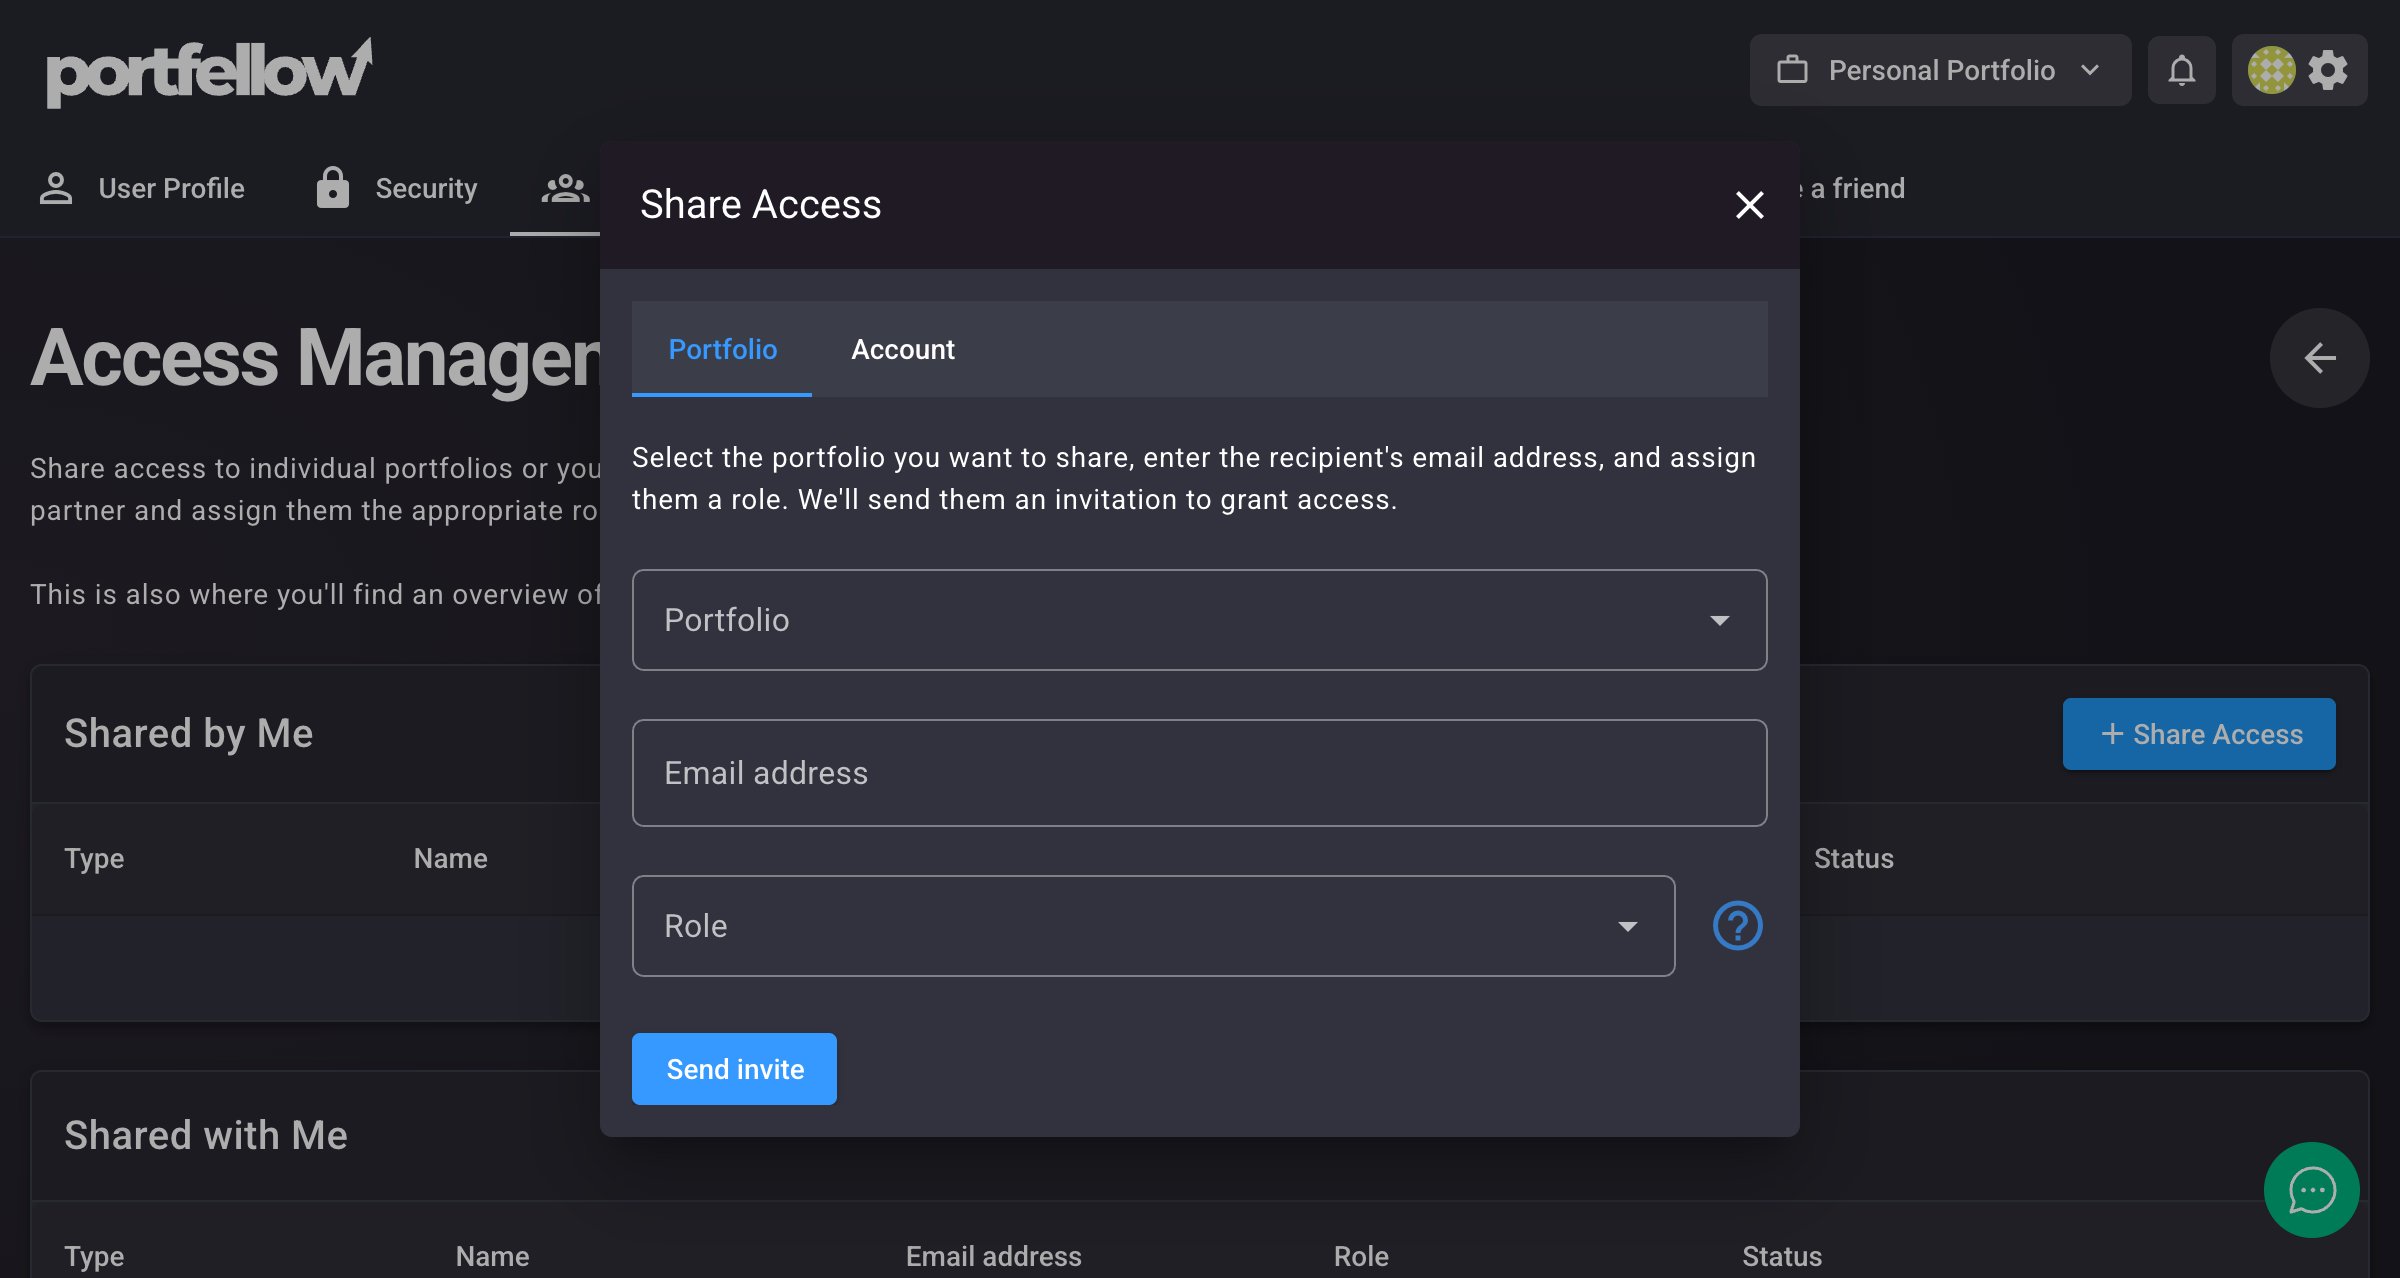
Portfolio sharing dialog with dropdown for selecting portfolio and role
For Account Sharing:
- Select the “Account” tab
- Enter the recipient’s email address
- Note: This automatically grants Representative access to your entire account
- ⚠️ Warning: Account sharing gives access to all current and future portfolios
- Vajuta “Saada päring” “Send invite”
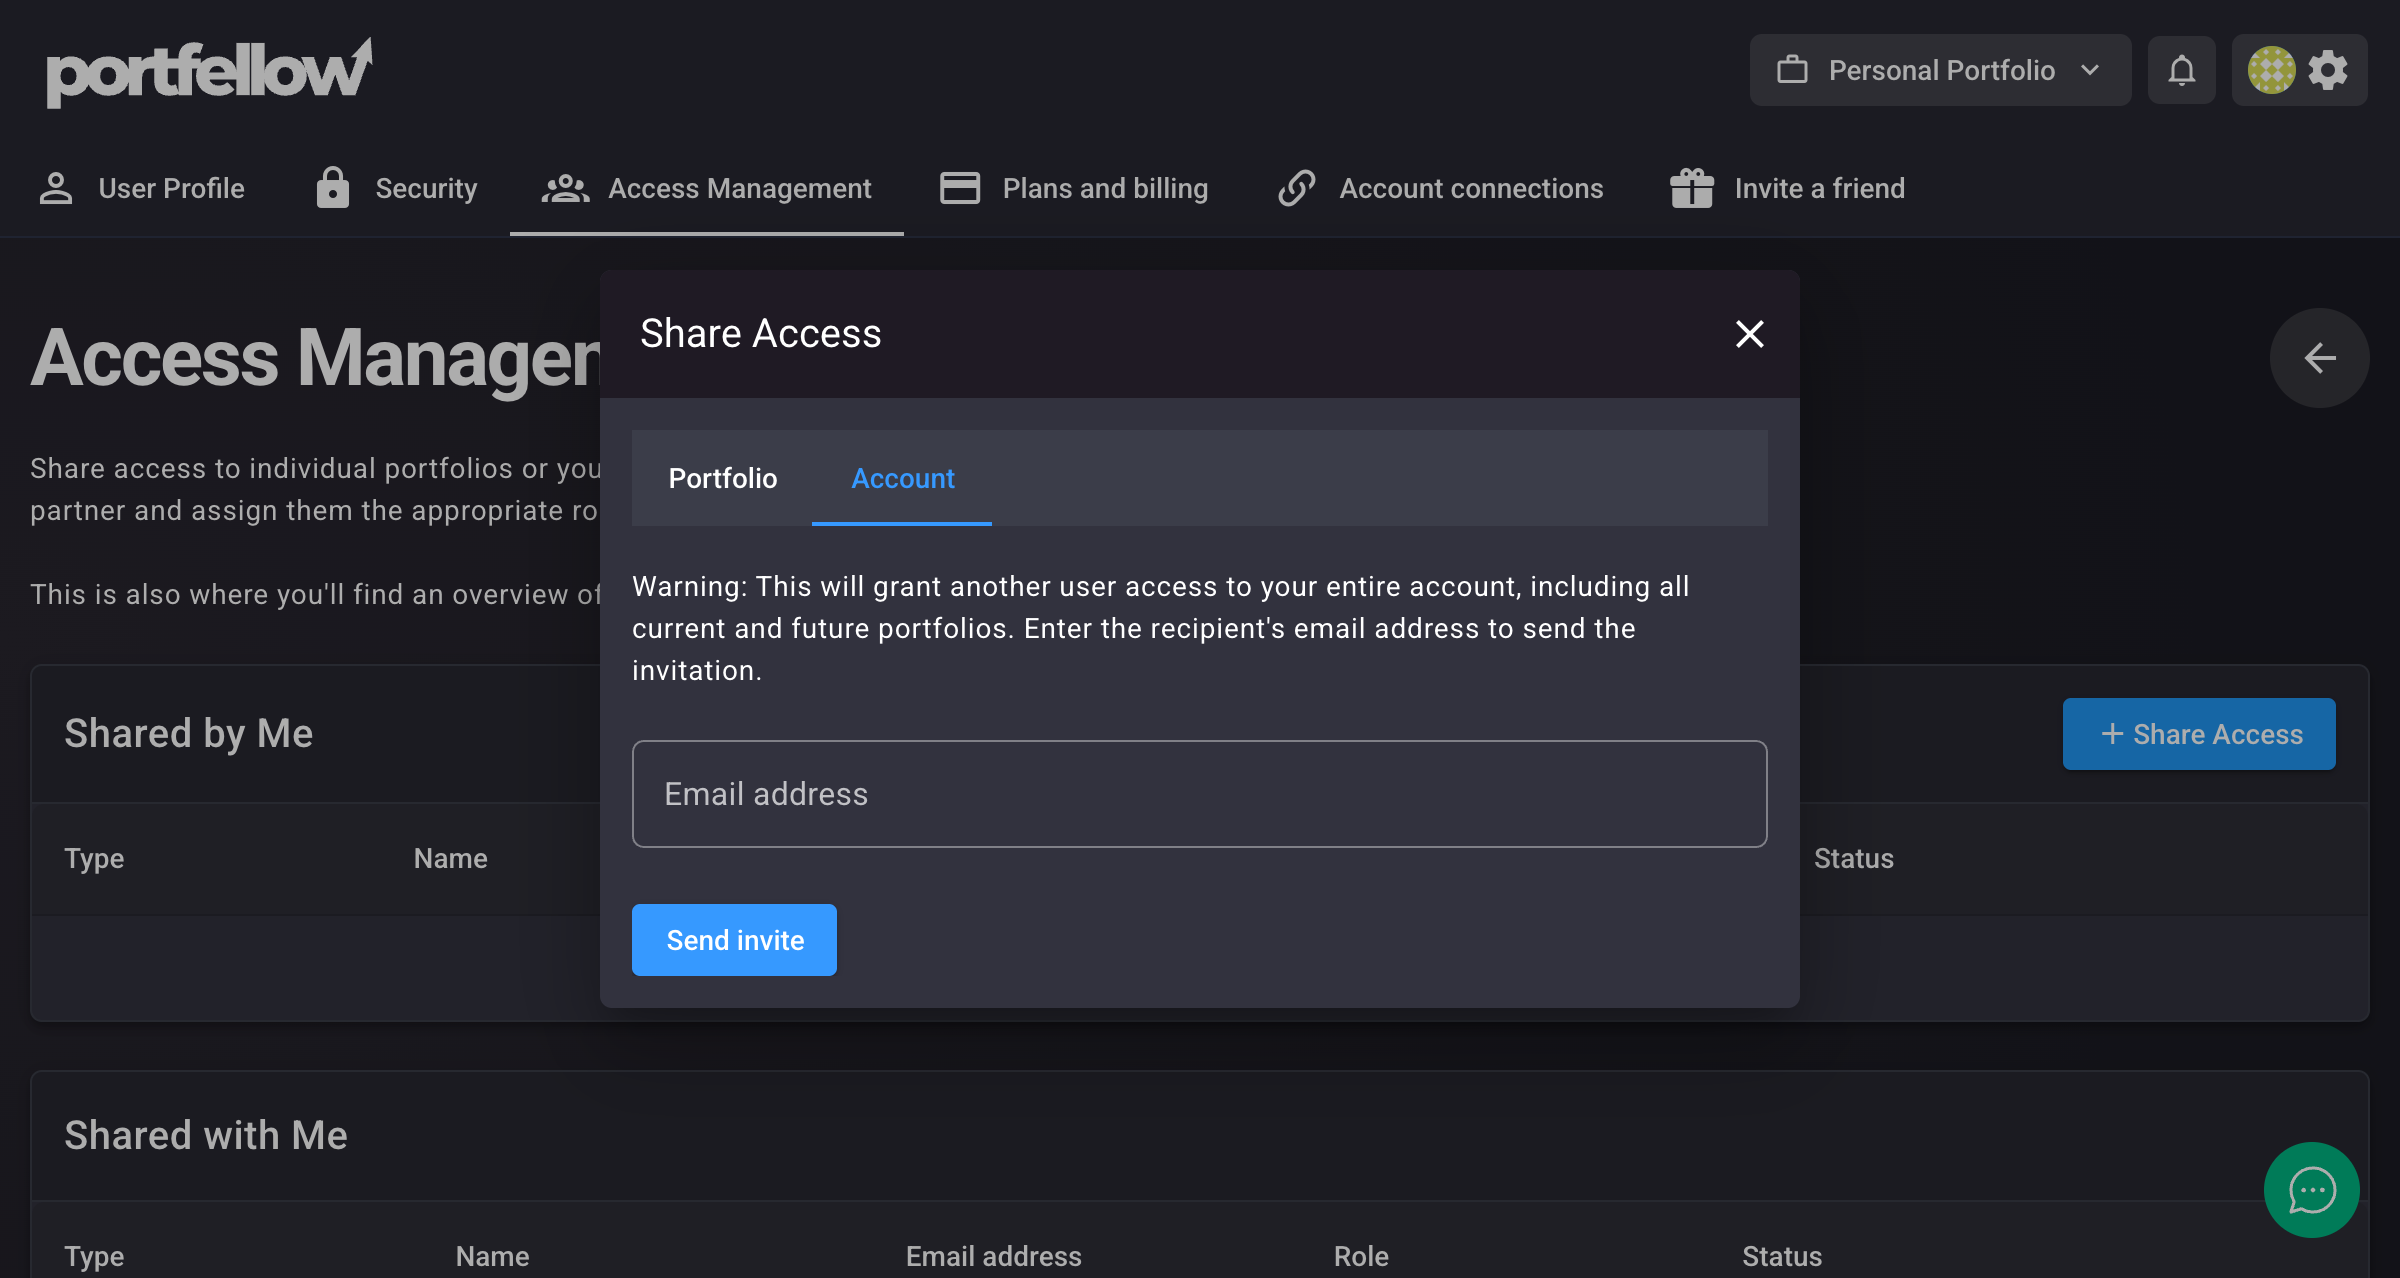
Account sharing dialog with warning about full account access
The recipient will receive an email invitation with a secure link to accept access. Invitations expire after 7 days for security.
Invitation Process
When you invite someone to access your data:
- Email Invitation – They receive an invitation email with details about the access being granted
- Account Setup – If they don’t have a Portfellow account, they’ll be prompted to create one
- Accept Invitation – They must accept the invitation to gain access
- Status Updates – The invitation status shows as “Waiting acceptance” until they accept
- Expiration – Invitations expire after 7 days for security
For Recipients: Accepting Invitations
When someone shares access with you:
- Check Your Email – Look for an invitation email from Portfellow
- Click the Secure Link – This will take you to Portfellow to accept the invitation
- Log In or Register – You’ll need a Portfellow account to accept the permission
- Access Shared Data – Once accepted, shared portfolios appear in your account alongside your own
💡 Tip: Invitations expire after 7 days for security. If an invitation expires, the original owner can send a new one.
Managing Your Permissions
The Access Management page is organized into two main sections:
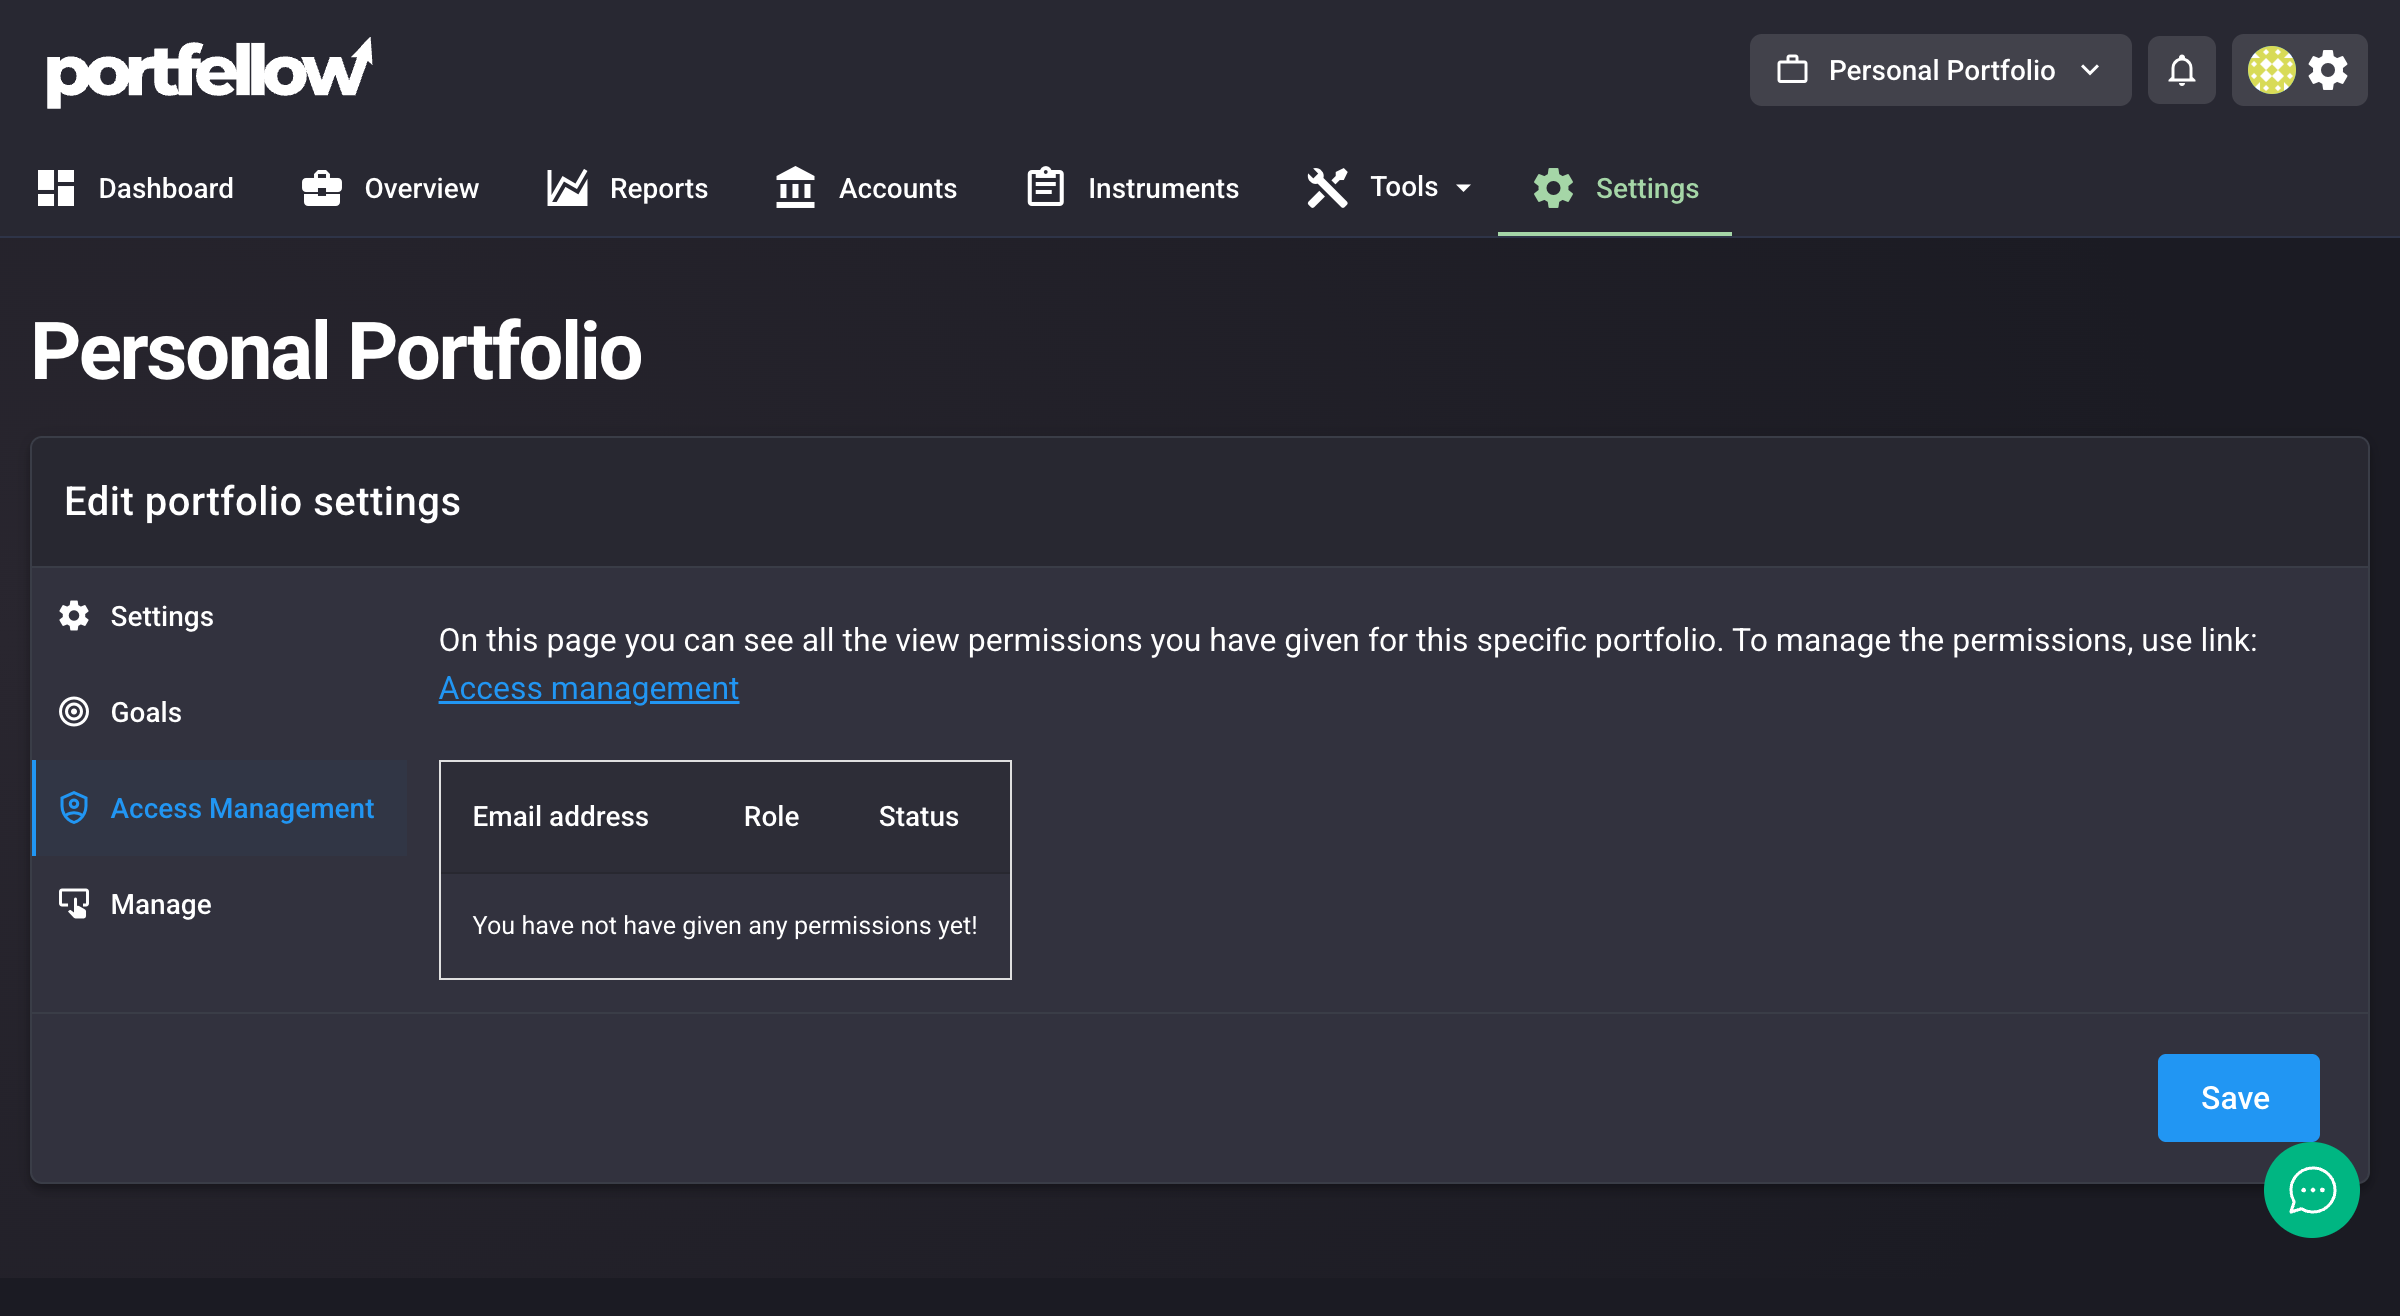
Portfolio-level access management view within portfolio settings
“Shared by Me” Section
This shows all permissions you’ve granted to others and includes:
- Type – Whether you shared a Portfolio or your entire Account (User)
- Nimi – The portfolio name or account name being shared
- Email address – Who you shared access with
- Role – Their access level (Viewer, Manager, or Representative)
- Status – Current status of the permission:
- “Active” – Permission is working and the person has access
- “Waiting acceptance” – Invitation sent but not yet accepted
- “Expired” – Invitation was not accepted within 7 days
You can revoke permissions at any time using the actions menu for each entry.
“Shared with Me” Section
This displays all portfolios and accounts that others have shared with you:
- Shows the same information format (Type, Name, Email, Role, Status)
- Provides quick links to access shared portfolios
- Shows your role and permissions for each shared item
- Allows you to accept pending invitations or manage existing access
Representative Mode
When someone grants you Representative-level access to their account, you can use Representative Mode to act on their behalf:
- Navigate to the Permissions page in your settings
- Find the Representative permission in your “Shared with Me” section
- Click “Represent” to switch to acting on their behalf
- Work with their data as if it were your own account
- Switch back to your own account when finished
🔒 Security Note: Representative mode allows comprehensive account access, and the original owner can revoke access at any time.
Security Features
- Email-based invitations ensure only intended recipients can access your data
- Time-limited invitations (7 days) prevent indefinite exposure
- Granular permissions let you control exactly what each person can access
- Instant revocation allows you to immediately remove access when needed
- Encrypted data transmission protects all shared information
- Real-time authorization checks on every request
Best Practices
Choosing the Right Access Level
- Use Viewer for: Family members who want updates, passive advisors
- Use Manager for: Active financial advisors, trusted assistants managing records
- Use Representative for: Spouse, business partner, or primary advisor only
Security Recommendations
- Regularly review who has access using your account settings menu → Account Settings → Access Management tab
- Remove permissions for people who no longer need access
- Use portfolio-level sharing instead of account-level when possible
- Be especially careful with Representative access – it provides complete account control
Subscription Requirements
Permission sharing is available to users with paid subscriptions. Free account users can receive shared permissions but cannot create new permission invitations.
Troubleshooting
Common Issues
Invitation not received:
- Check spam/junk folders
- Verify the email address was entered correctly
- Resend the invitation if it’s been more than a few hours
Cannot accept invitation:
- Ensure you’re using the same email address the invitation was sent to
- Check if the invitation has expired (7-day limit)
- Request a new invitation if needed
Access issues after accepting:
- Log out and log back in to refresh permissions
- Confirm you’re using the correct account
- Contact the person who shared access to verify the permission is still active
Permission Status Meanings
- “Active” – Permission is working and the person has access
- “Waiting acceptance” – Invitation sent but not yet accepted
- “Expired” – Invitation was not accepted within 7 days
Getting Help
If you need assistance with permissions or access management:
- Check our Help Center for additional guides
- Contact support through the app or via email
- Review your subscription plan to ensure you have permission features available
The permission system is designed to make sharing your financial data both secure and convenient, giving you complete control over who sees what while maintaining the highest security standards.